
Early Rehabilitation (0-6 weeks)
You may have already been provided with a booklet or been directed to the LTHT website for initial advice following a diagnosis of anterior shoulder dislocation which can be found below:
Anterior shoulder dislocation without bony injury bookletGetting Started
If you are wearing your sling, it is important you regularly remove this and perform exercises to prevent the elbow wrist & hand, and your neck from becoming stiff and sore.
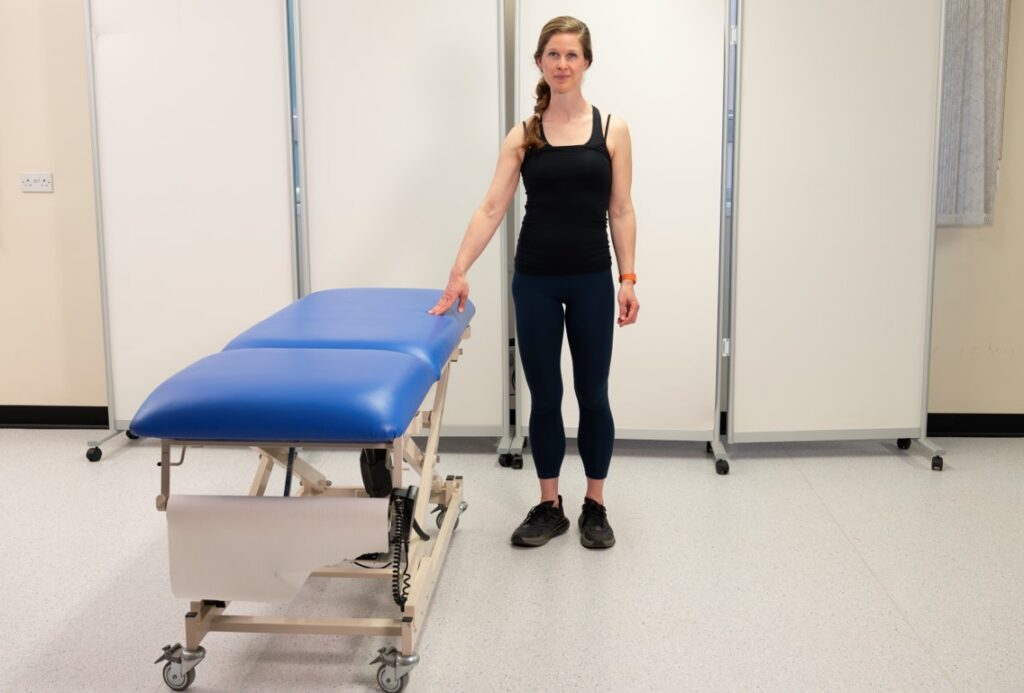
Table top slides (forwards)
Start, facing a table or worktop. Slide your hands forwards as far as comfortable whilst bending your knees to stick your bottom backwards, achieving a slight squat position Slide your arms back towards you as you return to an upright position.
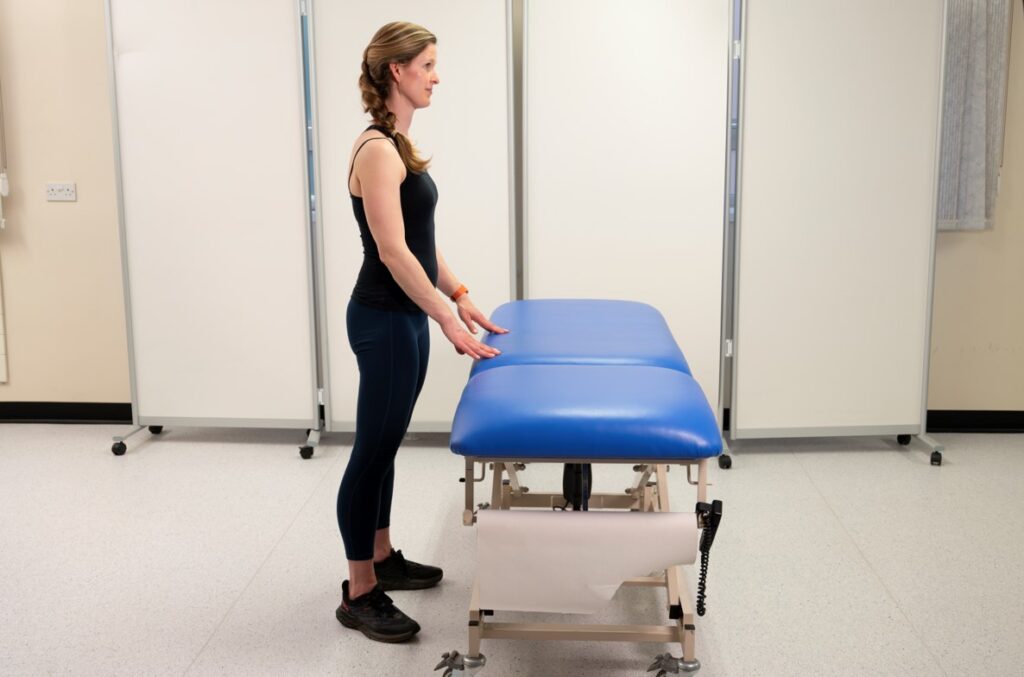
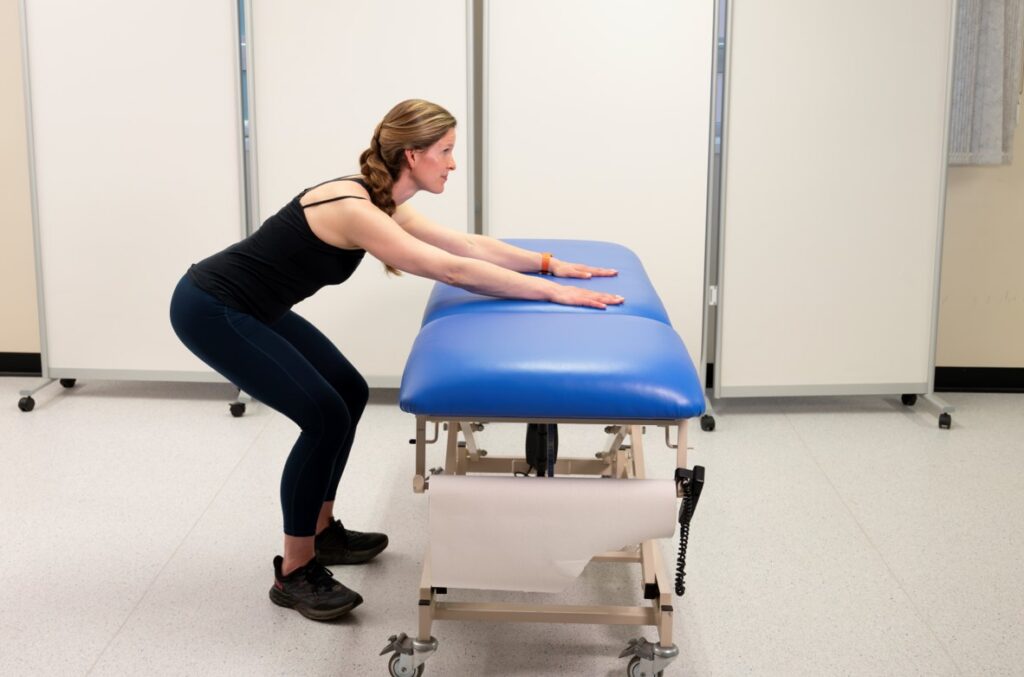
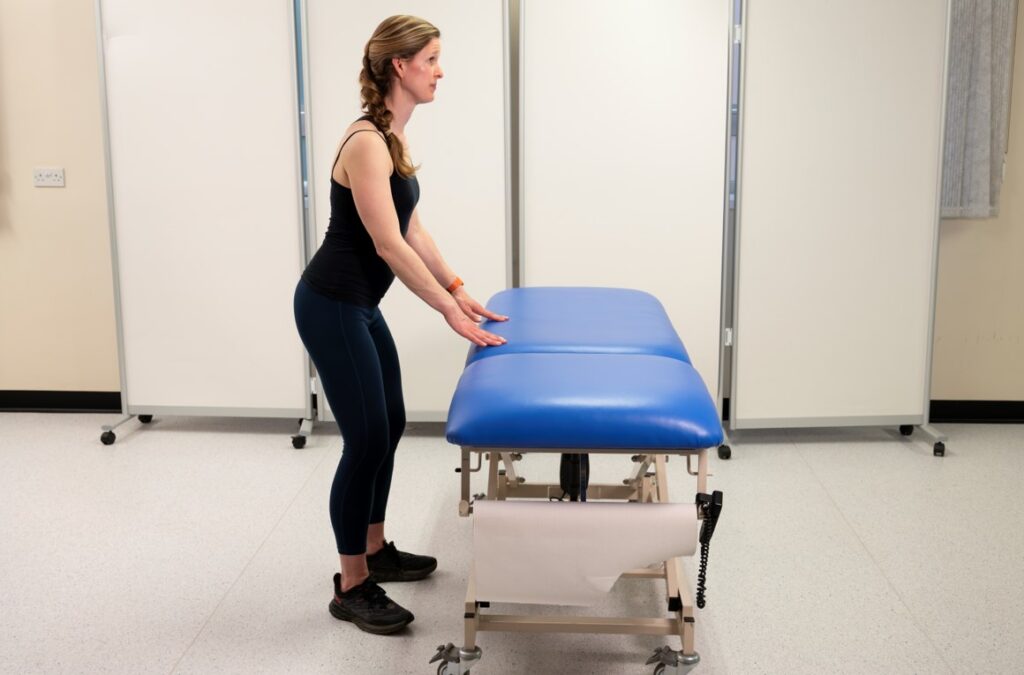
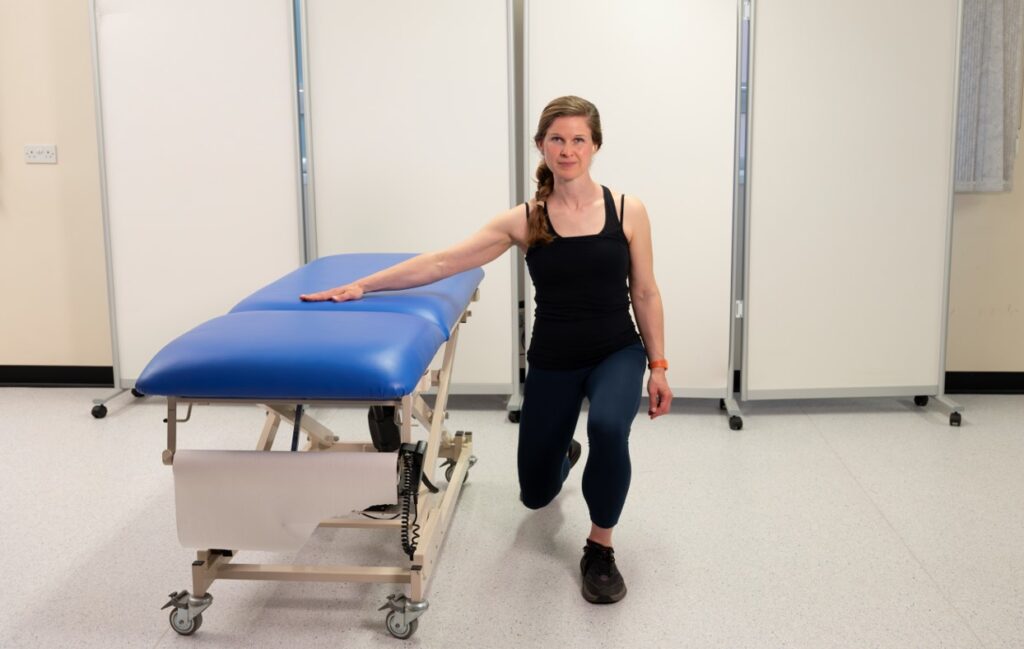
Table top slides (diagonal)
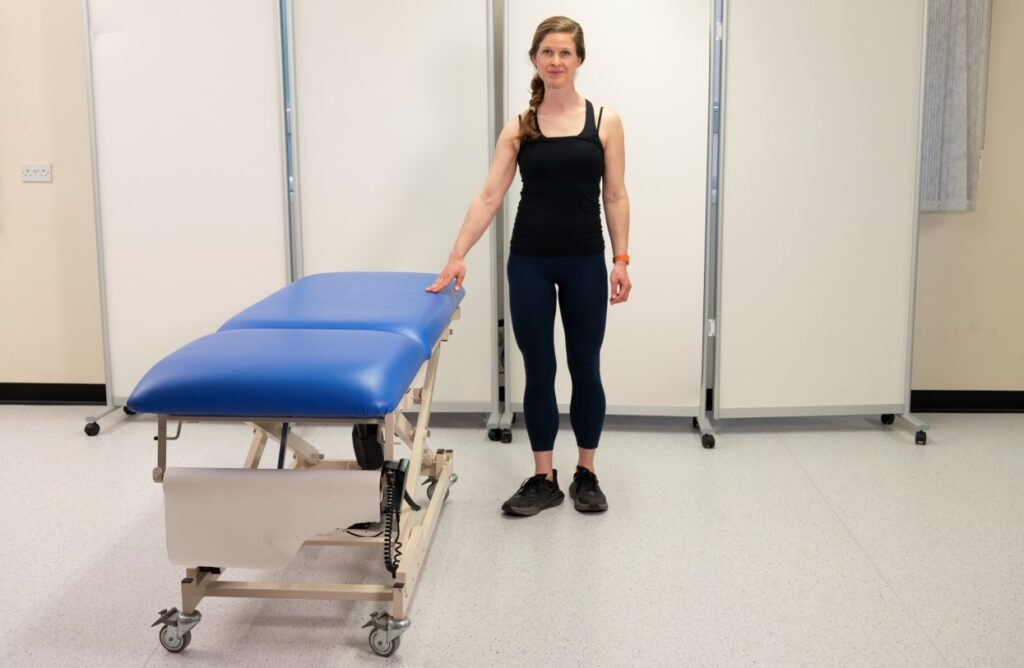
Standing sideways on to a table or work top, slide your affected arm diagonally away from your body. At the same time, step forward with the opposite leg to your painful shoulder as you slide your arm forward. Slide your arm back towards you as you return to an upright position. These exercises may be useful if you are particularly sore and to build up to the supported wall slide exercise.
Static strengthening (isometric contraction)
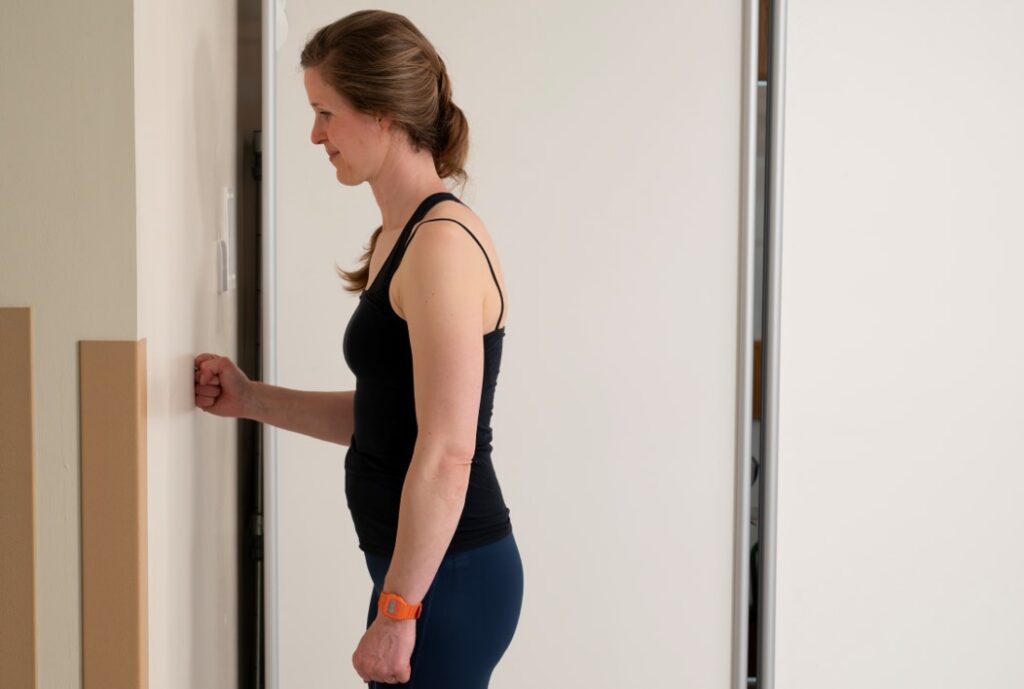
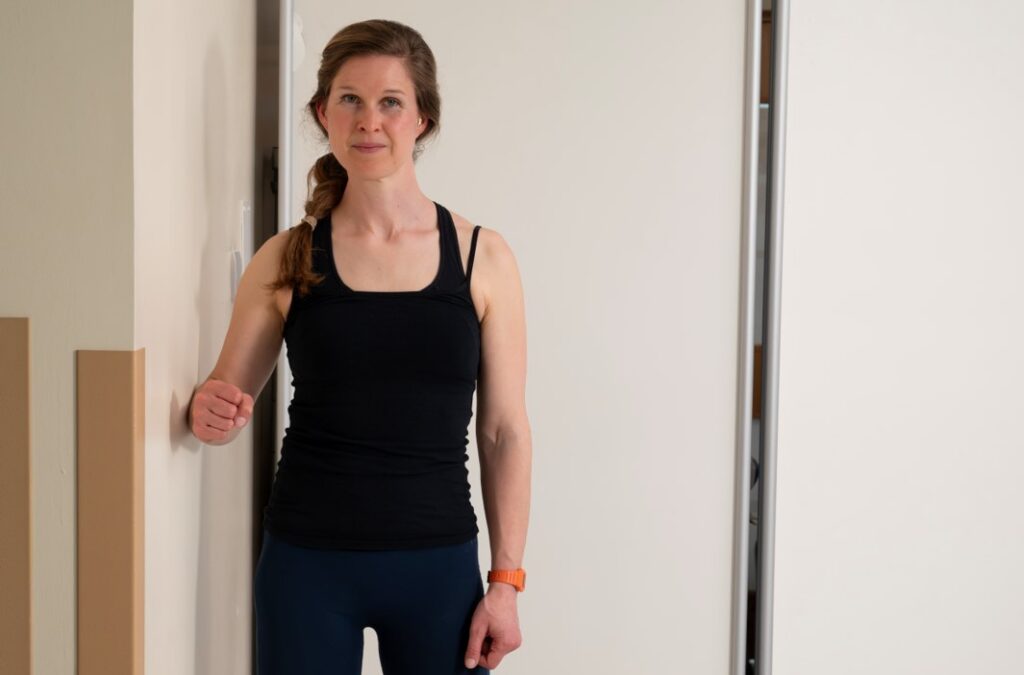
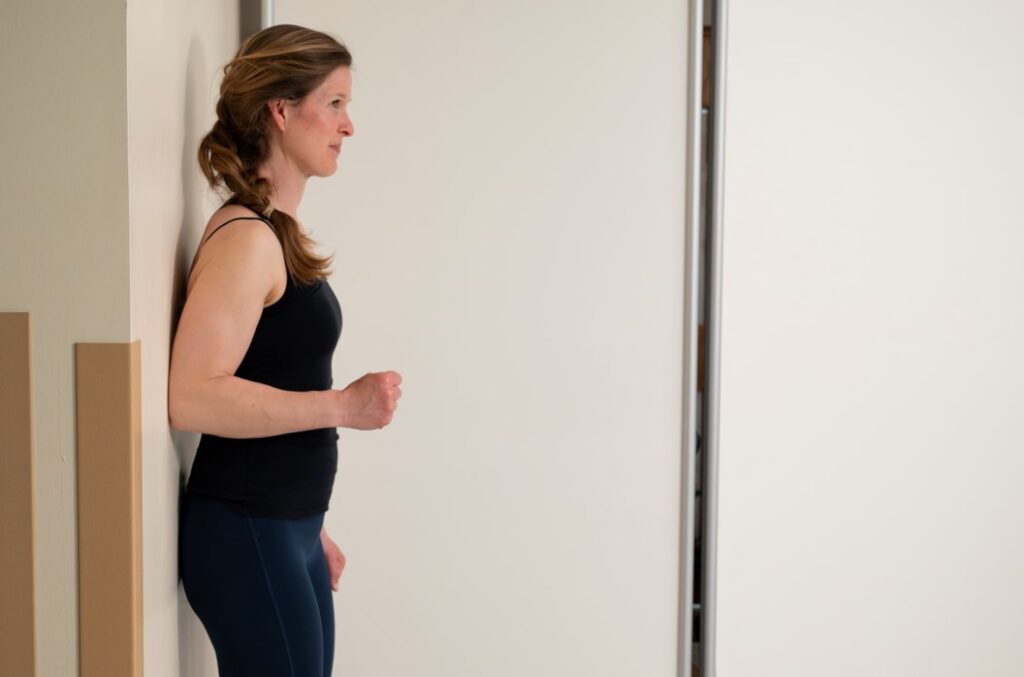
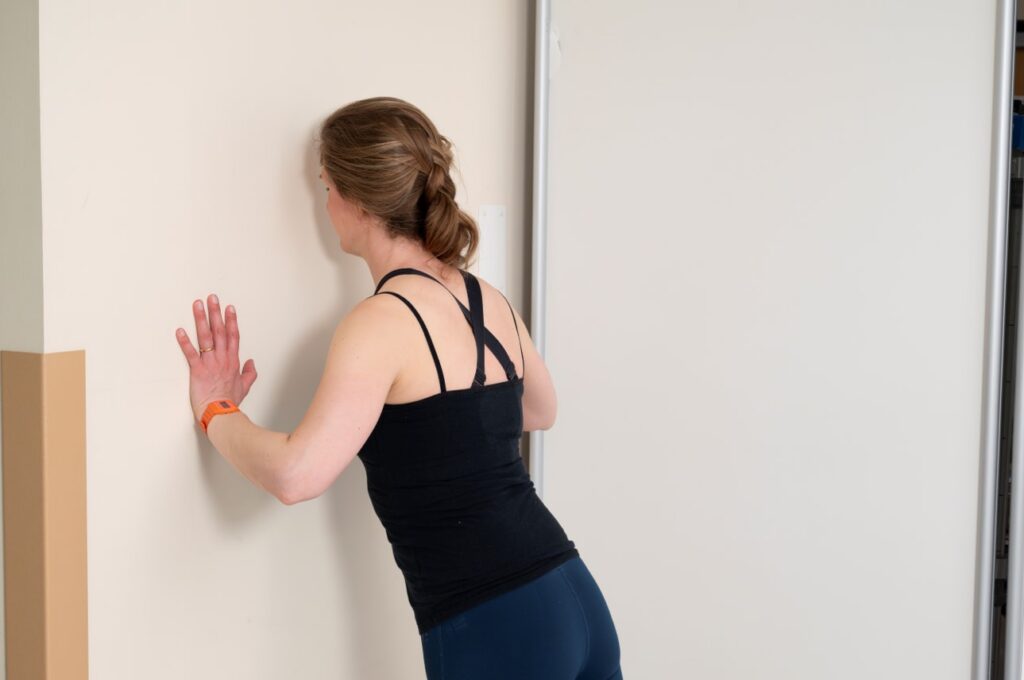
With your affected arm, push against the wall, maintaining muscle activation without movement of the arm. Hold the contraction for approximately 5 seconds, relax, and repeat for the following actions:
3a. Standing sideways on to a wall with your elbow bent at 90 degrees, push with the back of your hand into the wall
3b. Standing sideways on to a wall with your elbow bent at 90 degrees, push with outside of your elbow into the wall.
3c. Standing with your back against a wall with your elbow bent at 90 degrees, push with the back of your elbow into the wall.
3d. Stand facing the wall with your elbow bent at 90 degrees, push your fist into the wall.
Supported wall slides
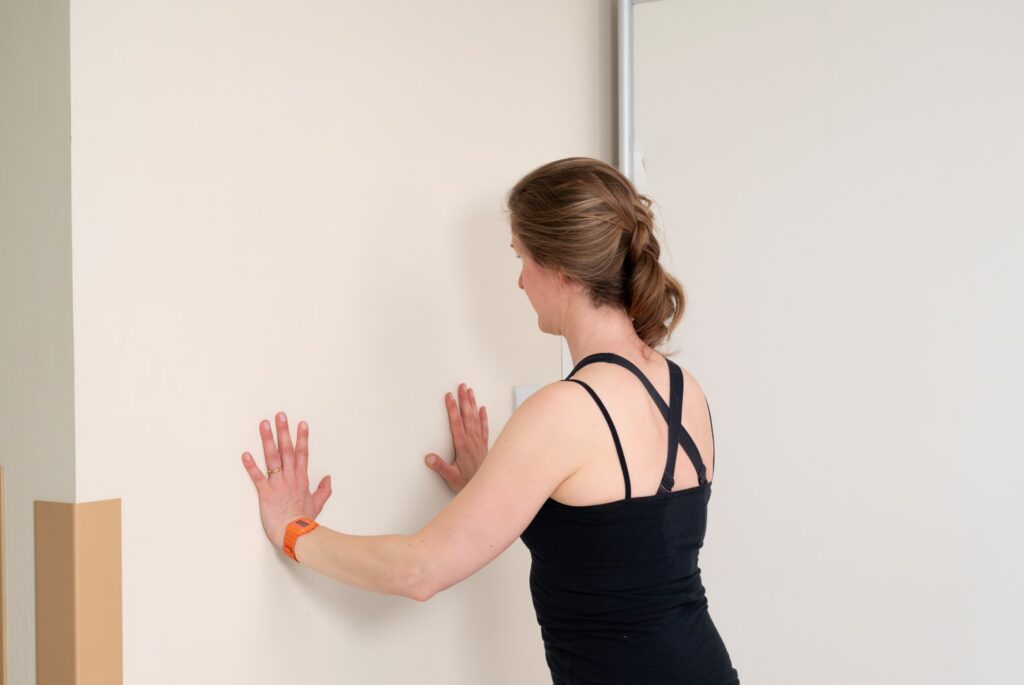
Stand facing a wall with your hands slightly apart on the wall.
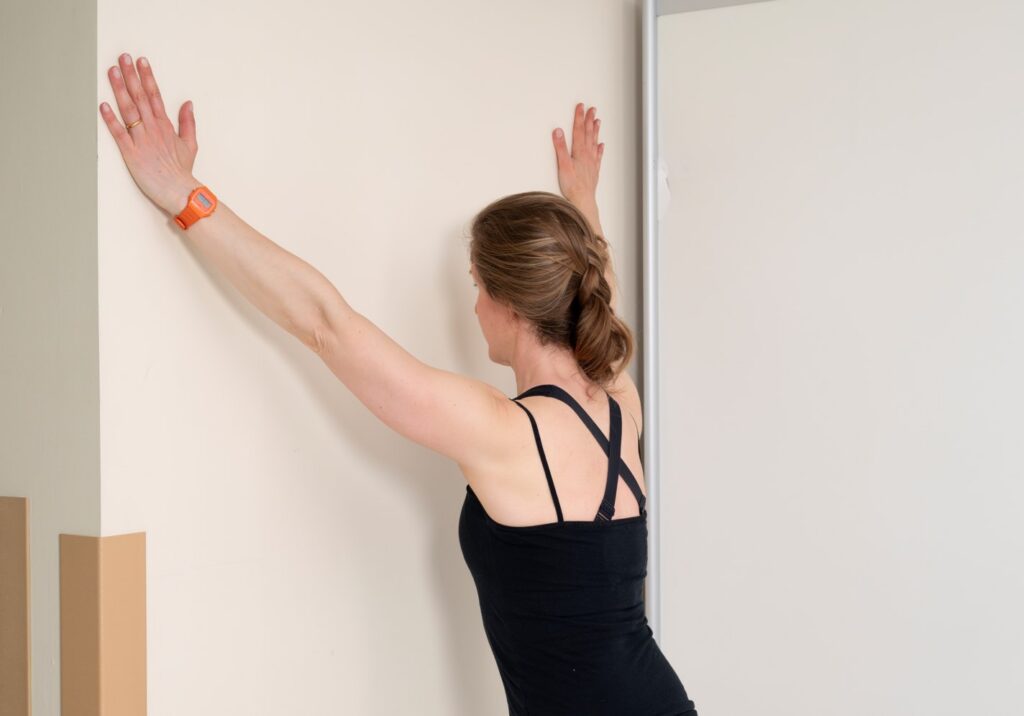
Maintaining pressure on the wall, push your arms up and out in a “V “ shape, as far as you feel comfortable to do so. Maintain the pressure on the wall as you bring your arms back towards the starting position.
You can add a slow step forward with the opposite leg to your painful shoulder as you elevate your shoulders, to further develop the exercise. Step back slowly as you bring your arms back down to the starting position.
You should not push through pain or experience any instability symptoms.
Push Ups on the Wall
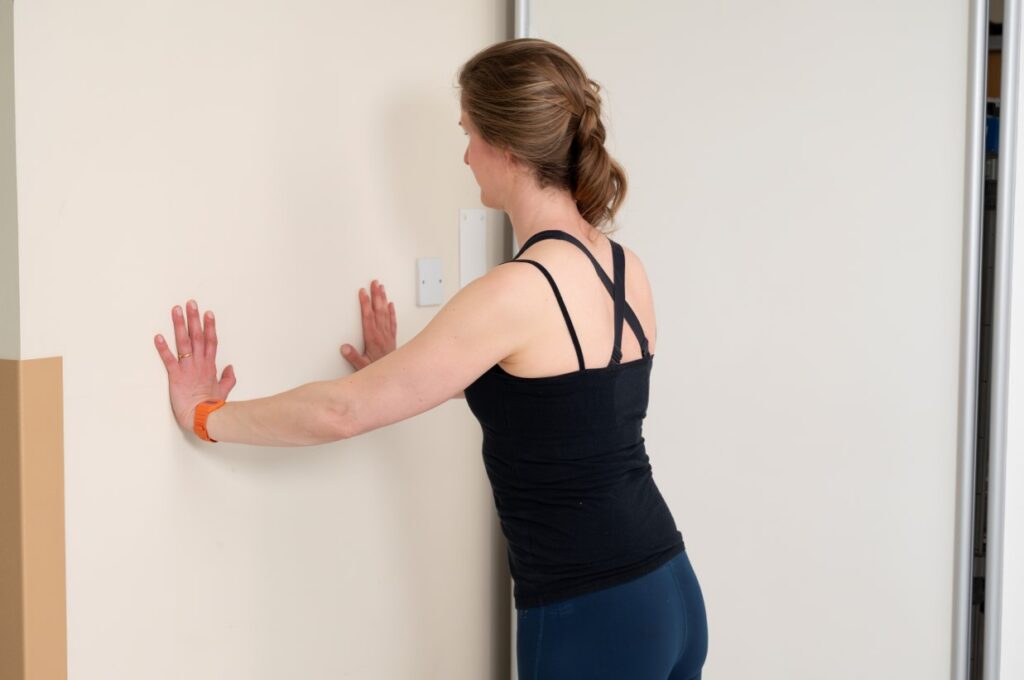
Stand facing a wall. Place your arms at a level you are comfortable with the bend your elbow and lower your chest towards the wall, maintaining a relatively straight spine and push away straightening the elbows.
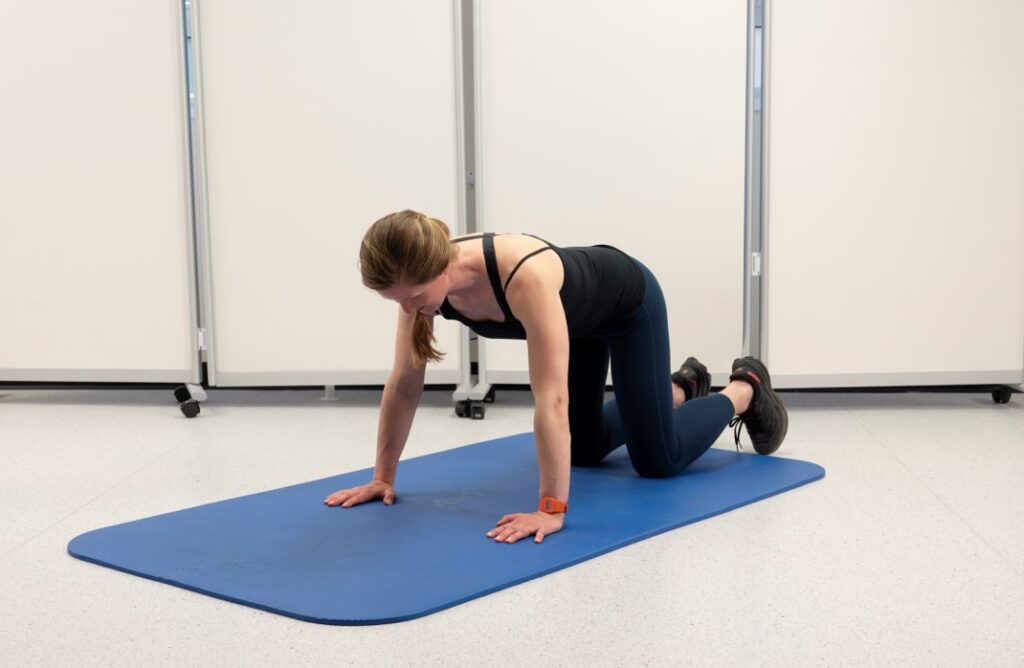
Weight transference in 4 point kneeling
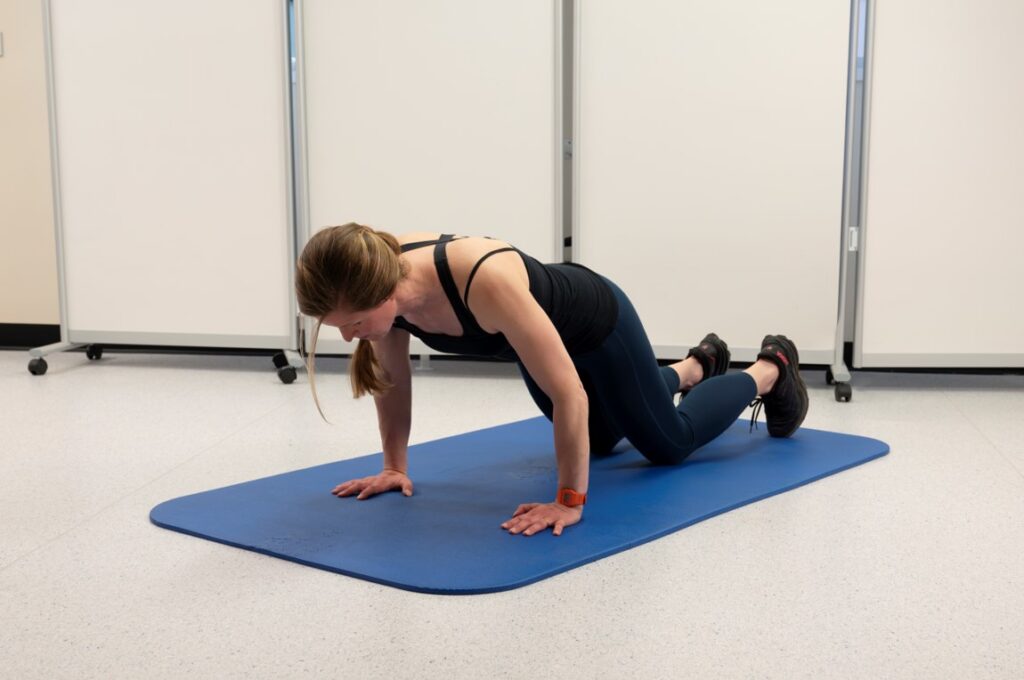
- Either on the floor if you are able to, or on a bed, start on your hands and knees with your shoulders over your wrists, and your hips over your knees.
- Gently transfer your weight from side to side, and forward and back keeping control of the shoulder and a relatively flat back.
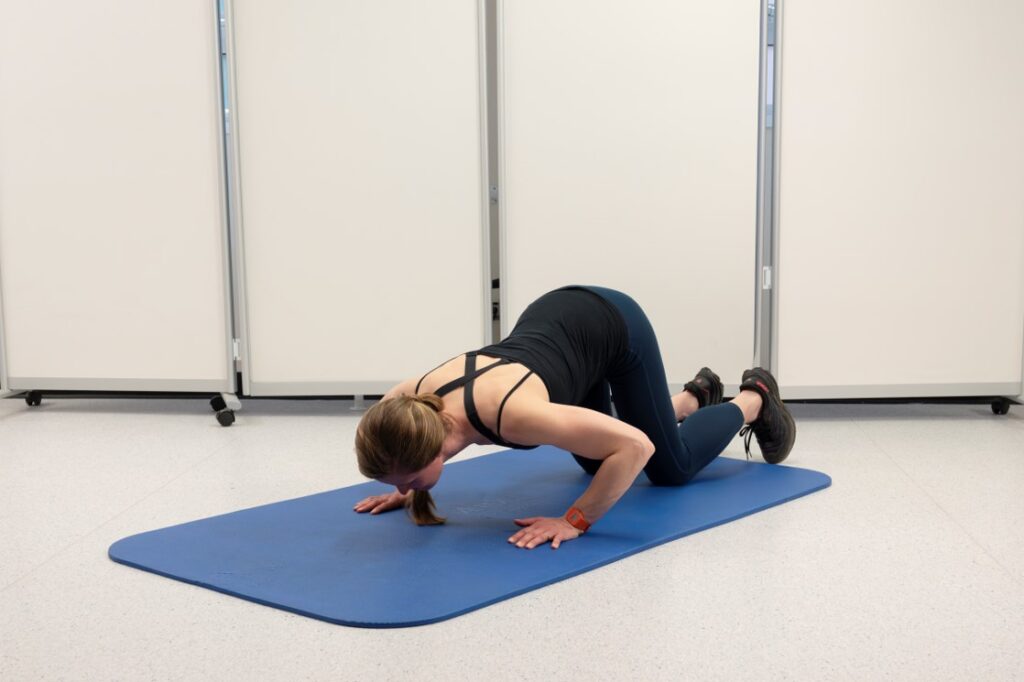
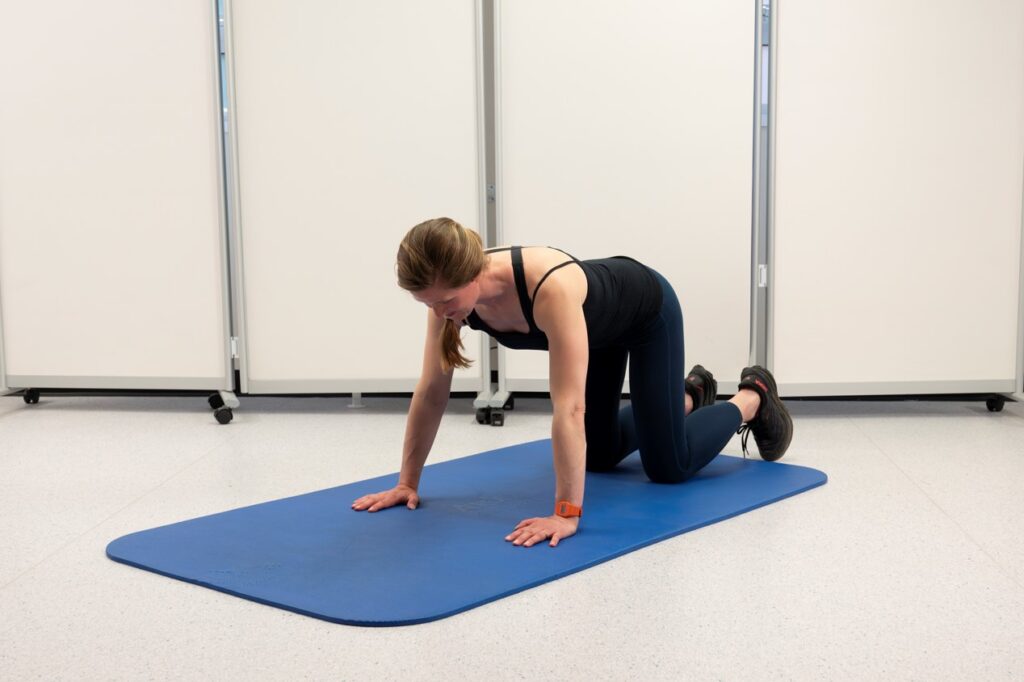
Push up in 4 point kneeling
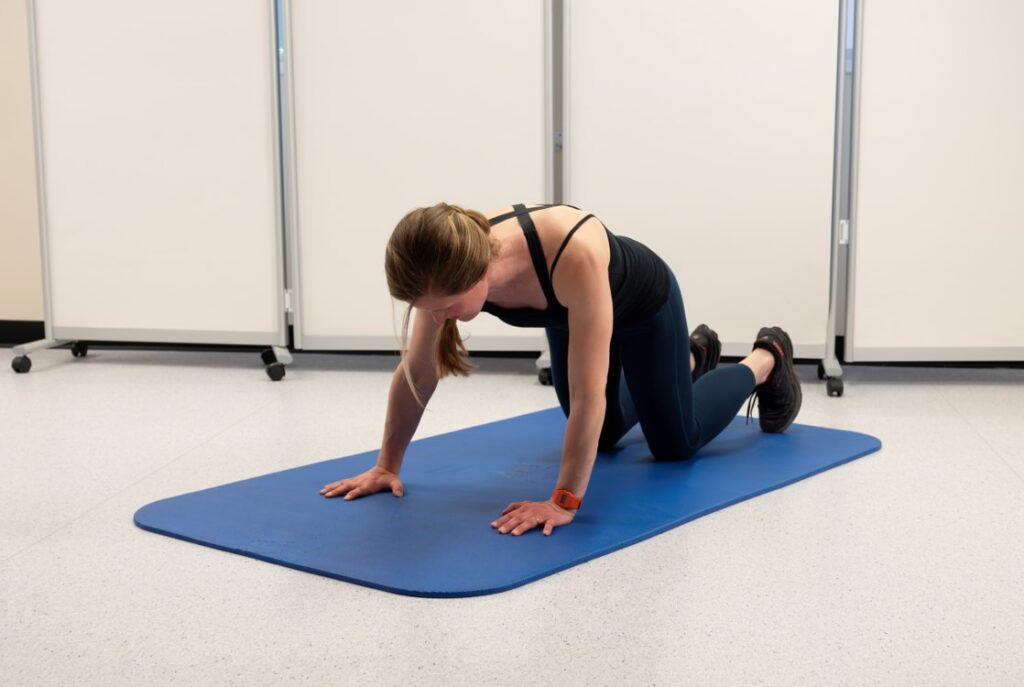
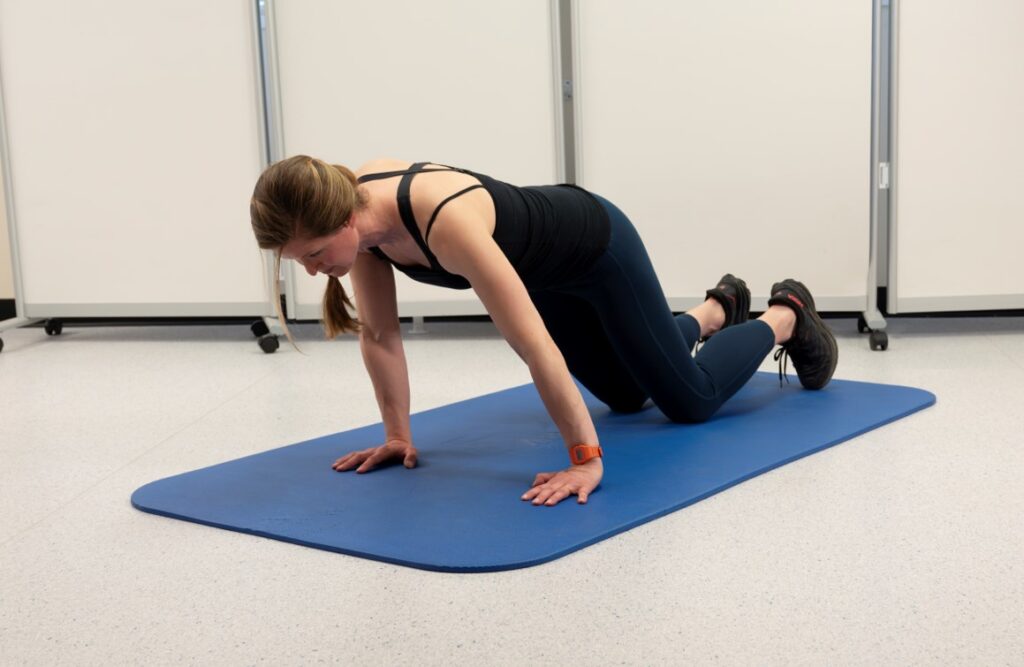
- In a kneeling position with your shoulders stacked directly above your wrists and hips stacked above your knees.
- Bend at the elbows to lower your chest to the floor. Push firmly through your hands to straighten your arms and return to the starting position.
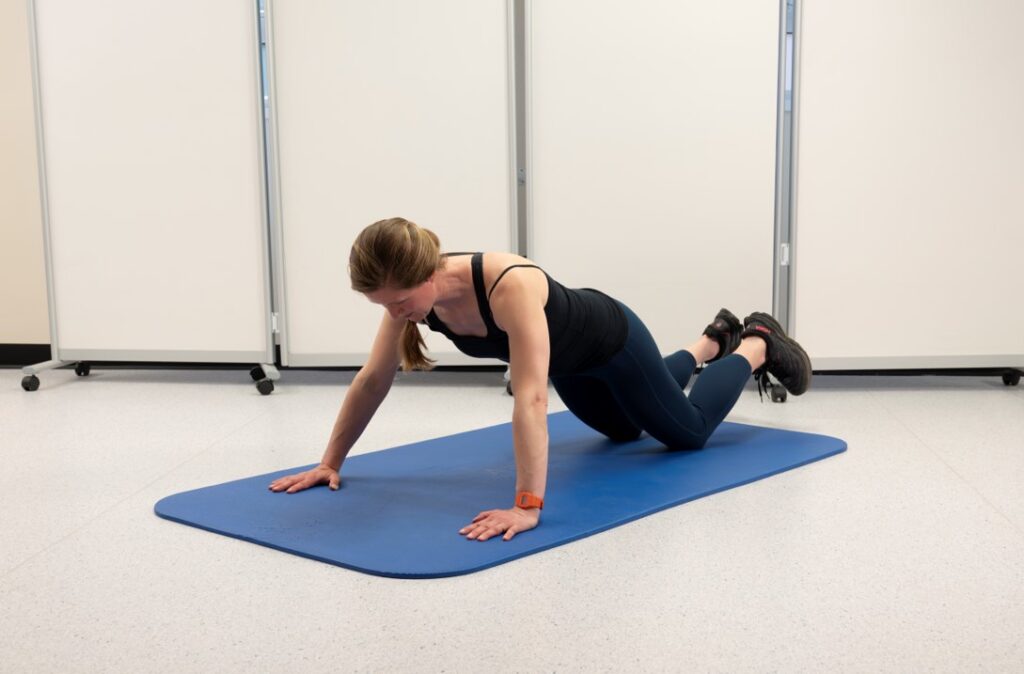
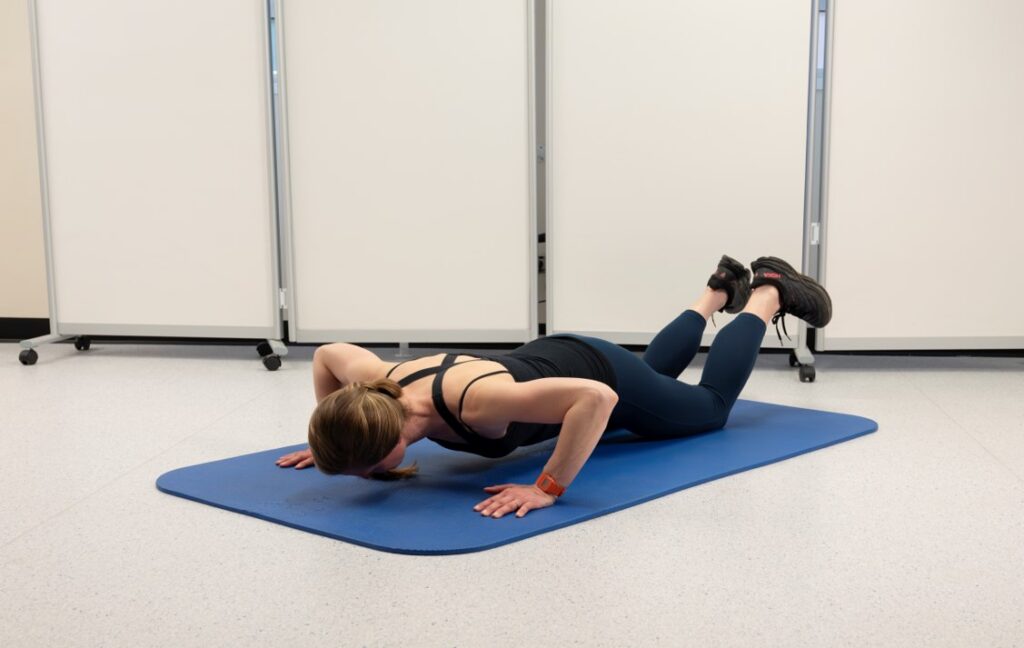
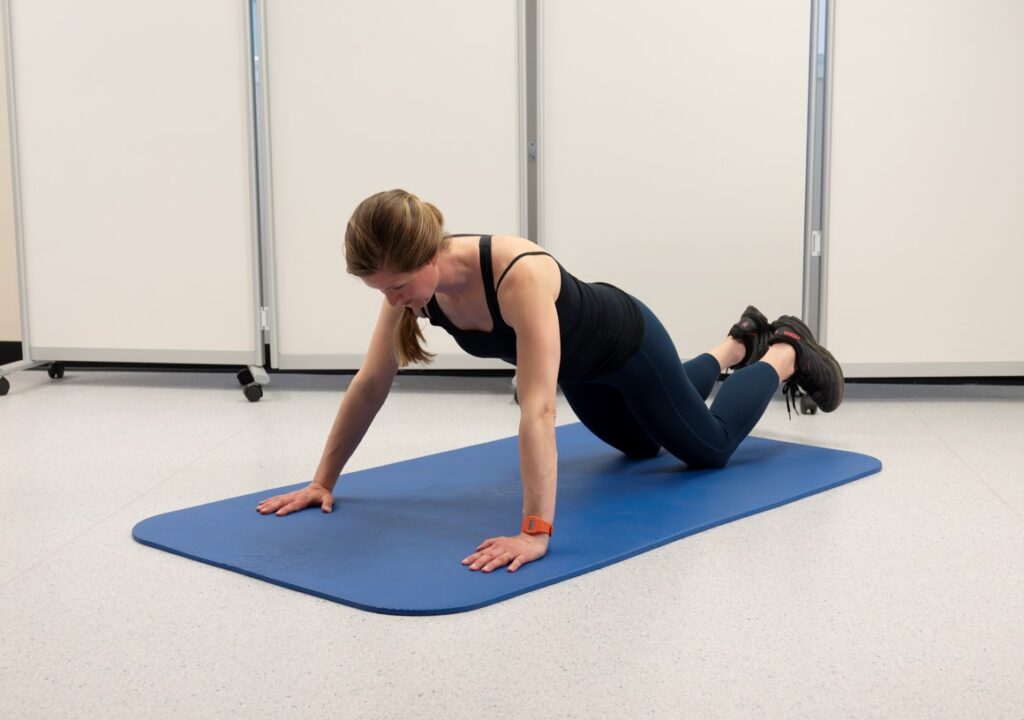
Push up in kneeling
- In a kneeling position, place your hands at a comfortable width apart, bring your shoulders directly above your wrists and walk your knees back so your torso forms a straight line from your knees to your head.
- Bend at the elbows to lower your chest to the floor, maintaining a neutral spine. Push firmly through your hands to straighten your arms and return to the starting position.
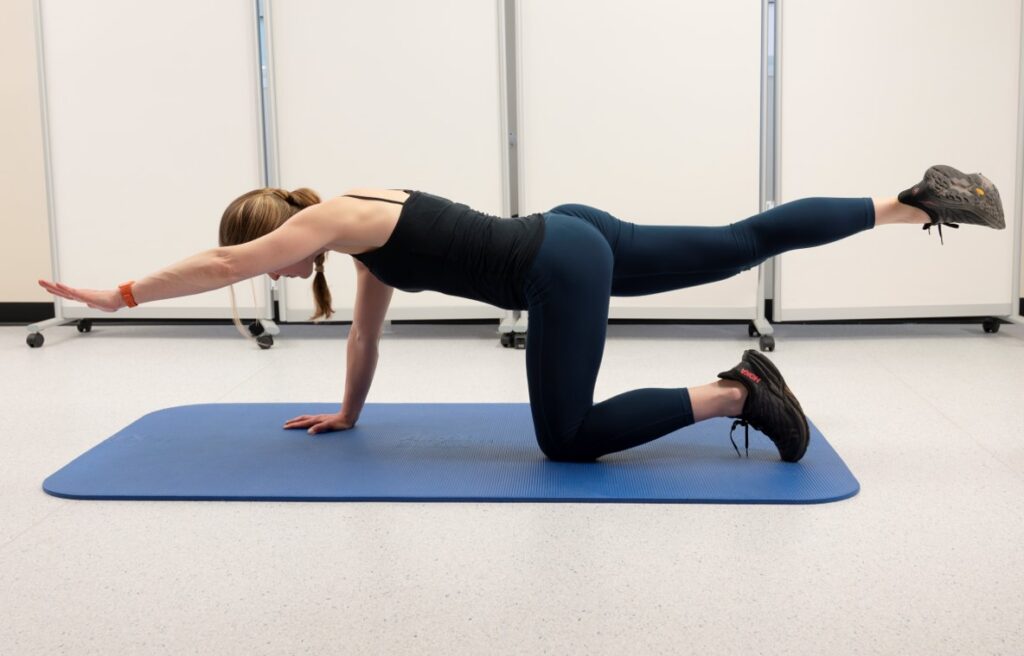
Superman progressions
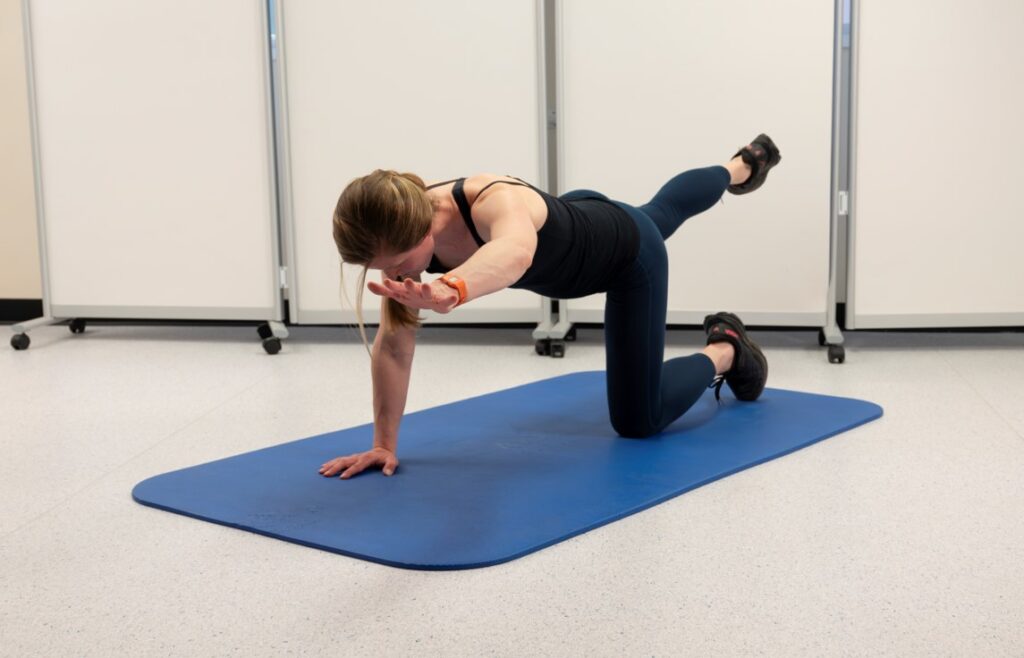
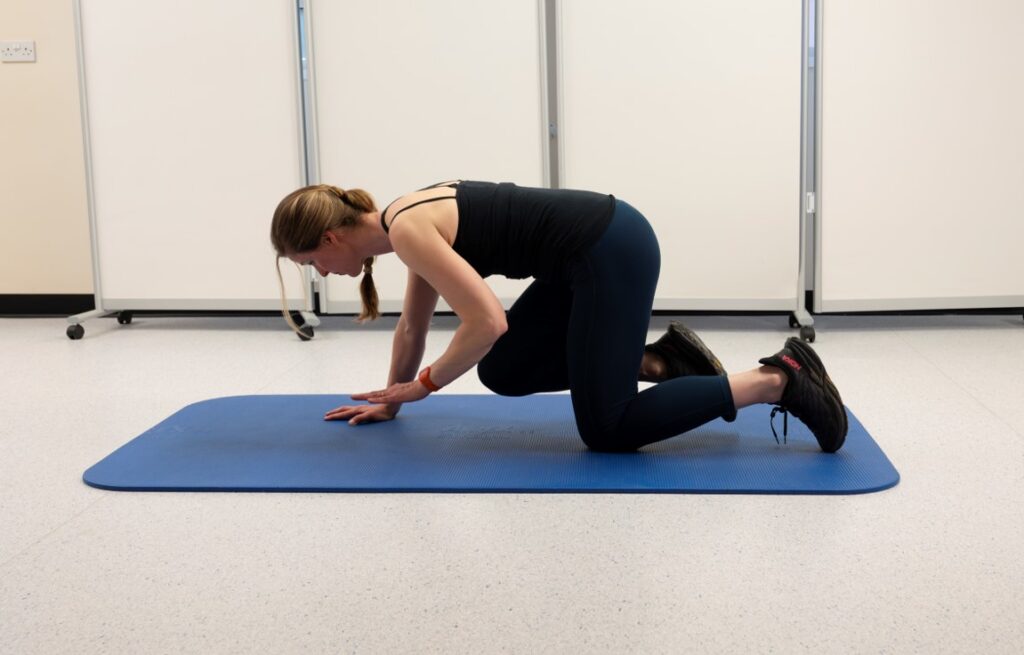
Starting in the 4 point kneeling position, on your hands and knees with your shoulders over your wrists, and your hips over your knees.
Slowly begin by lifting you unaffected arm up in front of you, putting the weight through your affected arm.
Once you can do this comfortably, maintaining your position, lift the opposite leg to the arm lifted at the same time to achieve the superman position.
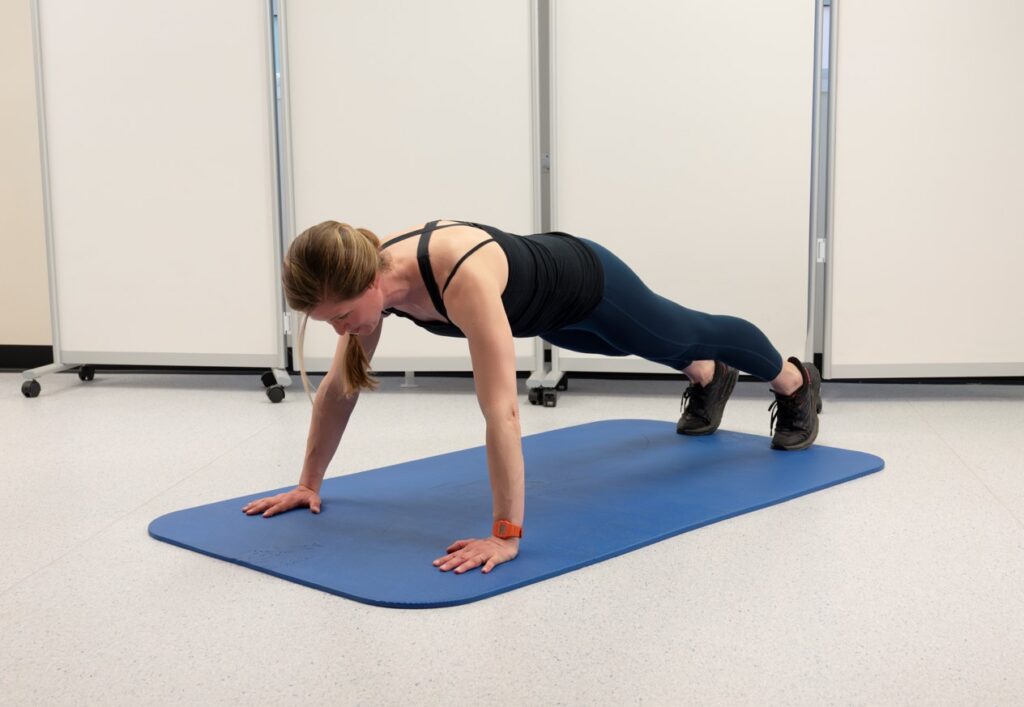
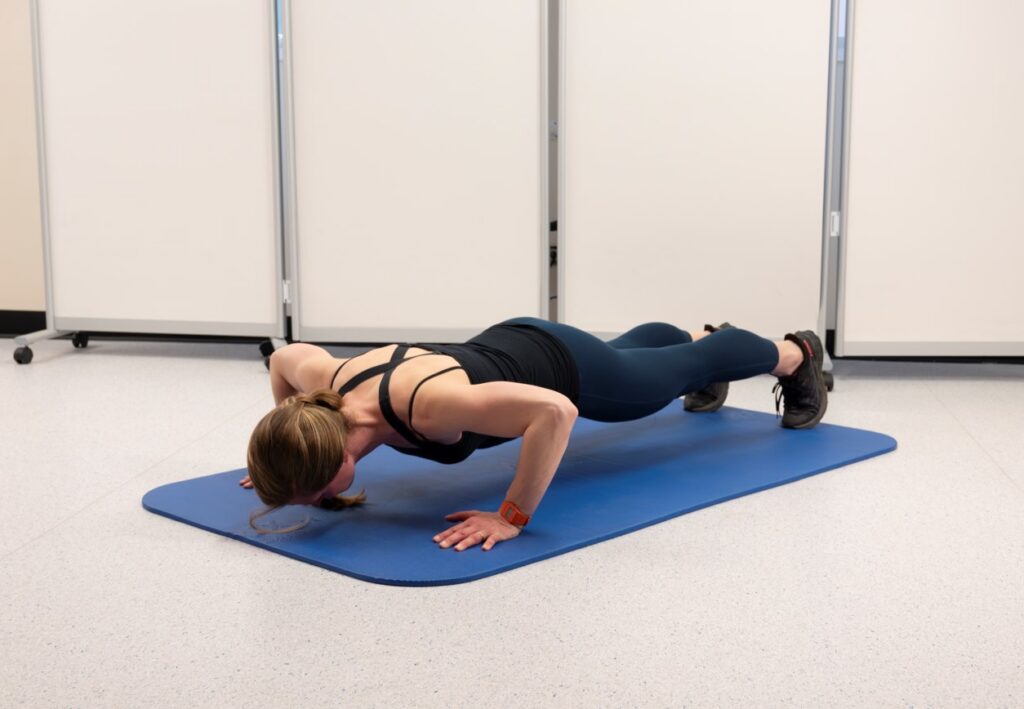
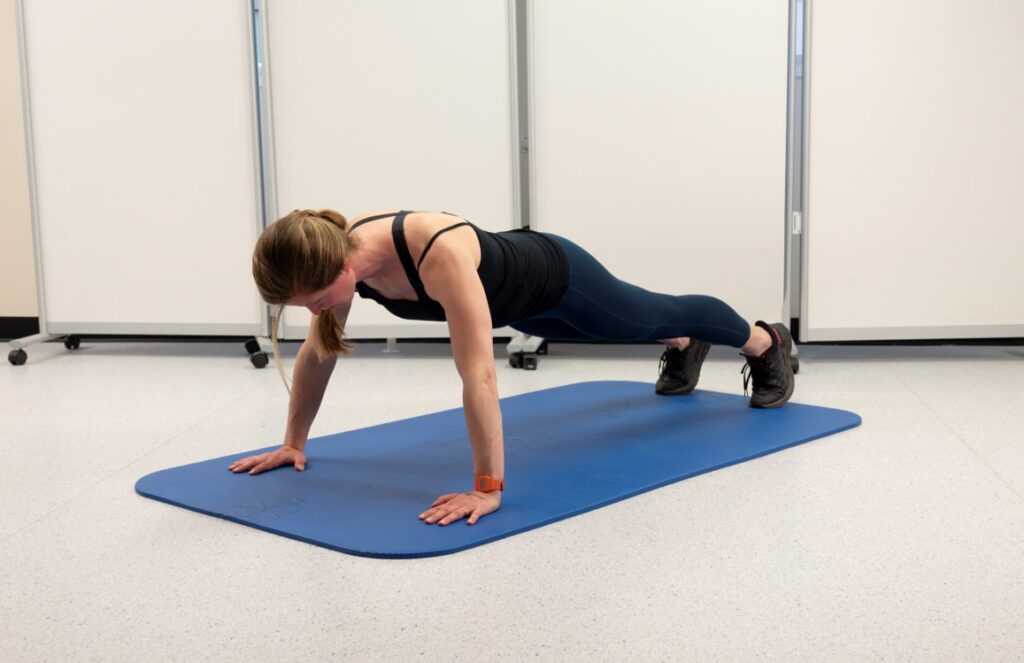
Full Push Up
- Place your hands flat on the floor, slightly wider than shoulder width apart.
- Extend your legs behind you and come up onto your toes.
- Brace your core to maintain a neutral spine position and bend at the elbows to lower your chest to the floor, maintaining a neutral spine.
- Push firmly through your hands to straighten your arms and return to the starting position.
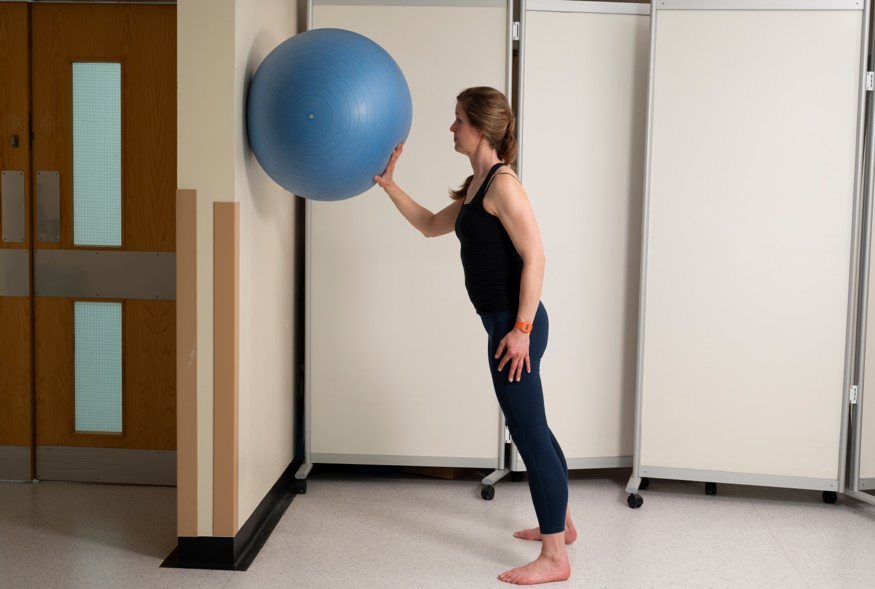
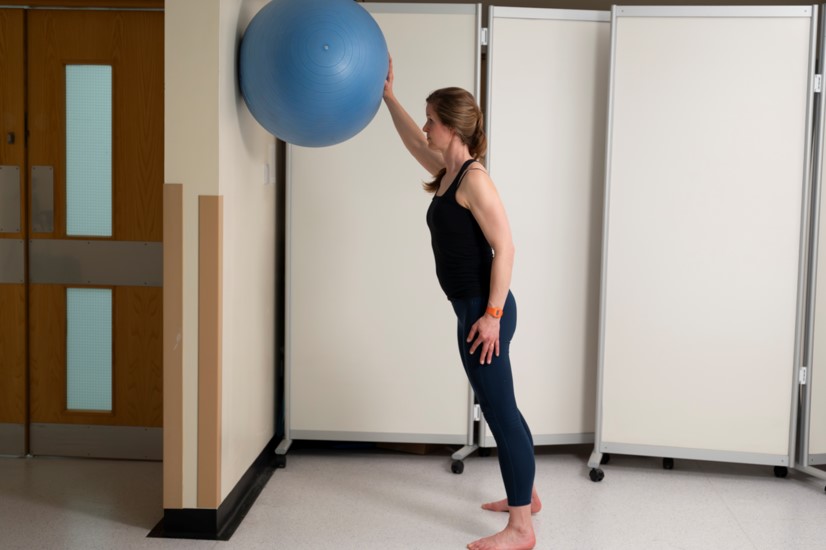
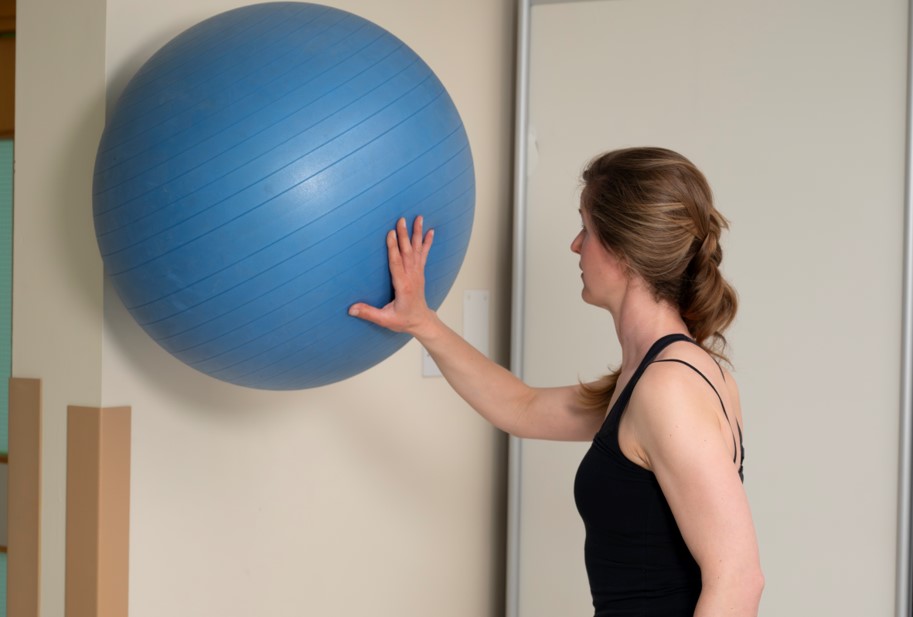
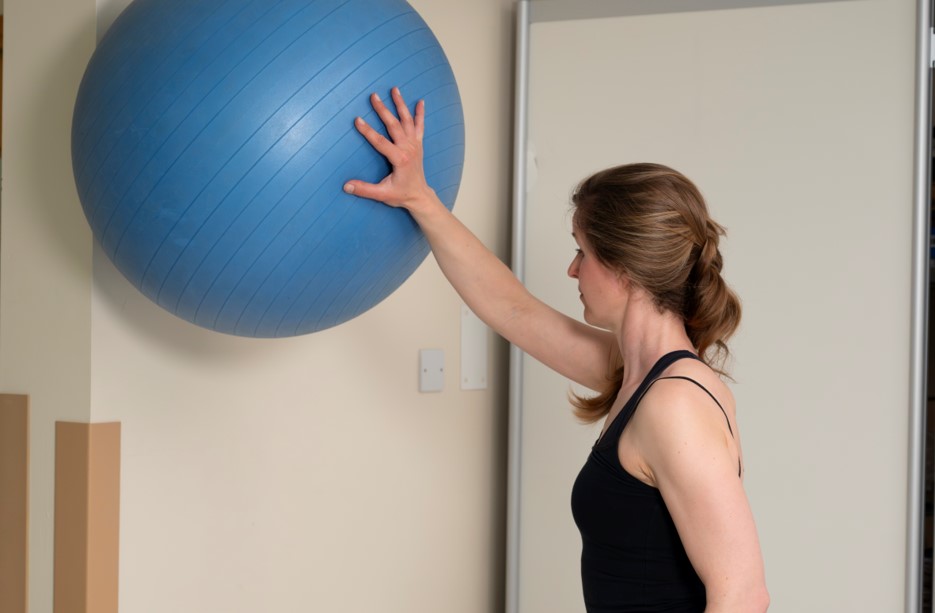
Rolling a ball on the wall
Lean on a ball on a wall in a standing position.
Roll the ball up and down slowly and as smoothly as possible.
Aim to repeat this for 60 seconds.
You have completed the Early Rehabilitation stage
Keep it up! If you feel your occupation is physically demanding, particularly if it involves overhead activity, or if you are involved in contact sport or a sport which involves overhead activity such as throwing and racket sports, further rehabilitation may be beneficial to achieve the stability required for your activity/ demands on your shoulder…. Keep Going!
Advanced Rehabilitation Stage